
Installing and Setting up Contact-Form-7
One of the best form out there is Contact-Form-7. There are lot of forms does many things, but Contact Form 7 been there for long and growing steadily in terms of updates. If you are interested you can check their documentation in their site Contact Form 7 Doc.
The installation and getting the Contact-Form-7 to work is not that hard. You need to make sure the Email configuration is working from your WordPress or else you cannot able to send the form. We will look at that later in the article.
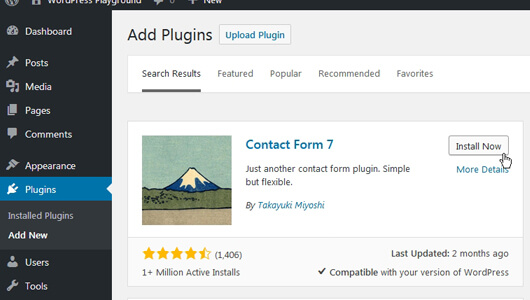
First Go to the Add Plugins page and search for Contact Form 7. Make sure the author is Takayuki Miyoshi. Click to Install and Activate the plugin.
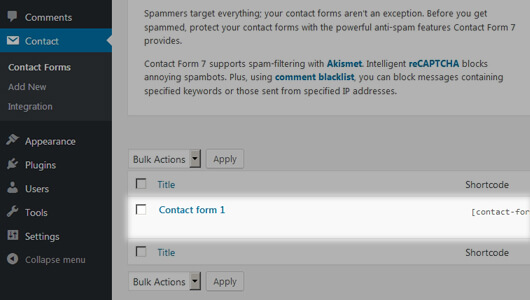
One the plugin is activated you should able to see a new menu Contact under the Comments in the sidebar. Click to go to the Contact Forms page and you should see a default contact form 1 in the table. You should able to see a shortcode as a second column in the table. Copy the code by clicking on it.
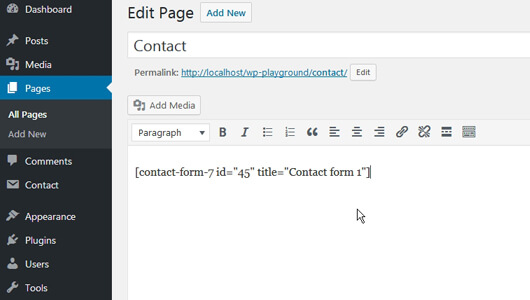
Go to your Contact menu page (not the Contact-Form-7 Contact page) and paste the code in the body.
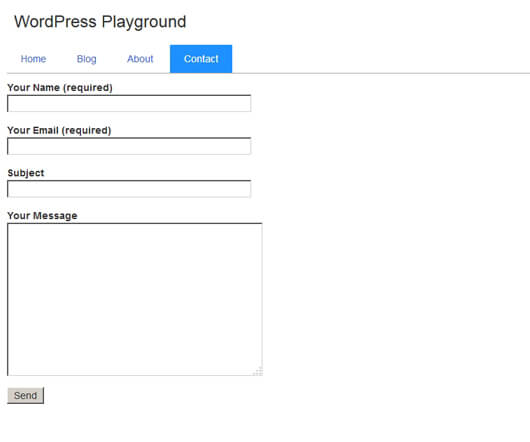
Go to your Contact front end page and refresh to see the contact form.
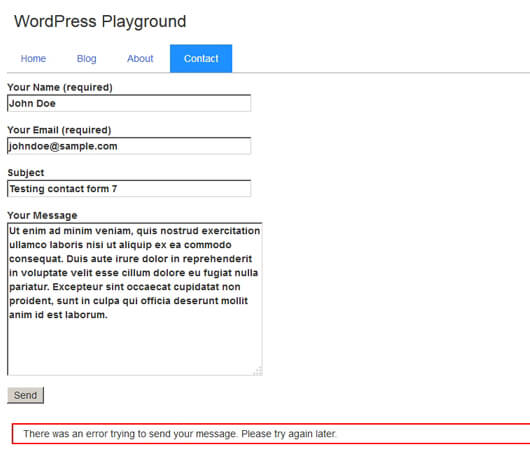
Now comes the testing part. Enter some details and click the ‘Send’ button. You should get an error notification. Now don’t panic, this means the contact form 7 is working fine. It is just that the mail hasn’t been configured. We need to configure the Mails in order for this form to work.
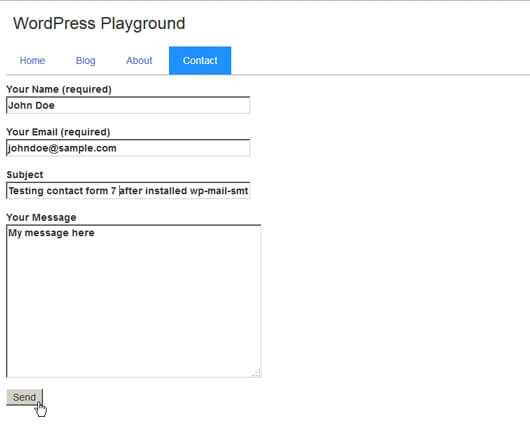
After you configure the email and tested with WP Mail SMTP.
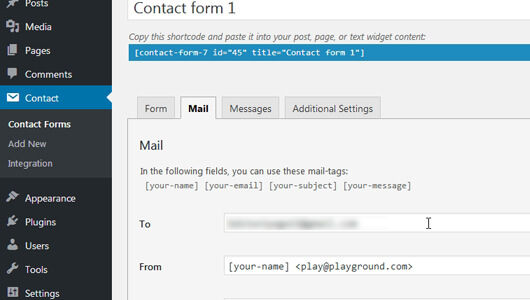
Go to the Contact form 1 default form page and add a email in the To field. Make sure it is a valid email id. The form will send the email to this email id.
Refresh your front end form and fill in the details and click the ‘Send’ button now.
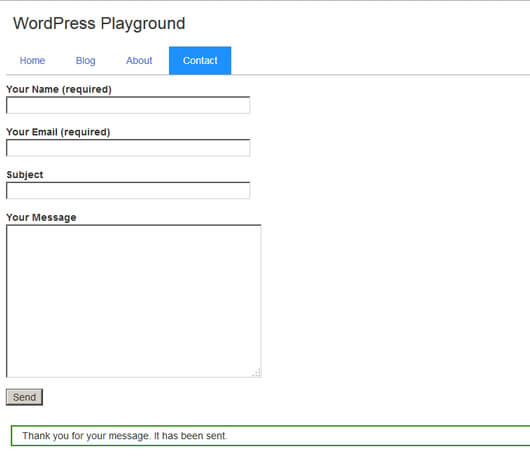
If you have done everything correct, you should get a Thank you notification message at the bottom of the form.
 Is the article helpful?